How to Change the Oil in Your Car

Oil is responsible for lubricating and cooling various parts, and clean oil is crucial for the efficient operation of your car’s engine. As a result, it is essential that the oil be changed on a regular basis in order to maintain the health of the engine.
When to Change the Oil
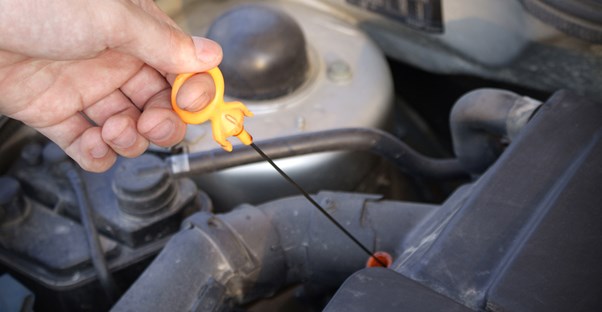
Most cars have a “Change Engine Oil” light that illuminates at the proper time. Manufacturers often suggest to change the oil between every 7,500 to 15,000 miles. If you have an older model without a change light and can’t remember your last oil change or it has been a year, it is time to change the oil. Open the hood and prop it up securely. Locate and remove the engine oil dipstick. Inspect the oil on the dipstick. Older used oil will usually be dark black.
How to Change the Oil
1. Purchase a sufficient quantity of the recommended oil for your car as well as the correct replacement oil filter (if you don’t know what type of oil filter you need, check your owner’s manual). It also is a good idea to replace the gasket for your oil drain plug each oil change. The plug can always be reused unless the threads are stripped.
2. You could use a jack and jack stands to raise the car, but a better idea (and a safer and quicker one) is purchase some plastic ramps from your local auto parts store, especially if you intend to change your own oil more in the future. Find a level place, and place the ramps directly in front and touching the front tires. Since warm oil drains better, warm the car up some before moving up the ramp. Have a friend guide you up the ramp. Set emergency brake and put chocks behind the rear wheels.
3. You need a socket wrench to take the oil drain plug off. In a pinch, you can use an adjustable wrench, but you are liable to round off the bolt making it hard to take off next time. Locate the oil pan drain plug, not the transmission drain plug. Place a container under the oil pan and remove the drain plug by turning it counterclockwise. Allow the oil to drain into the container.
4. Locate the oil filter. Move the container under the oil filter. Use an oil filter wrench to remove the filter by turning it counterclockwise. Clean the mating surface with a lint-free cloth. Take a dab of oil from the drain container and rub it on the rubber sealing ring of the new filter. Install the new filter by hand, turning it clockwise until it is hand tight. Turn the filter another three-quarters of a turn with the wrench. Avoid over-tightening.
5. Reinstall the oil pan drain plug after placing new gasket on it. Properly discard the used oil filter. Your auto parts store will take your used oil.
6. Add the recommended amount and type of oil for your particular engine using the filler opening. Make sure you put the cap back on. Start the car and check for leaks around the oil filter and drain plug. If no leaks are found, remove chocks and back car off of ramps. After car is up to operating temperature, check the dipstick and verify the oil level. Recheck the level after the first time you drive the car.
7. Follow your owner’s manual instructions to reset the “Change Engine Oil” light if so equipped.

